This site uses affiliates. Thank you for buying through our links and supporting this blog.


What is in our camera bag

When we started getting into travel photography, all we had was a very basic Sony a5000 camera with a kit lens, the cheapest tripod we could find and our phones, and truthfully that is all you need to get started. But as you grow as a photographer, you need your gear to grow with you. Over the years we upgraded and expanded our gear in order to up our game, and this is what we’re currently using. Take a look at what is in our camera bag.
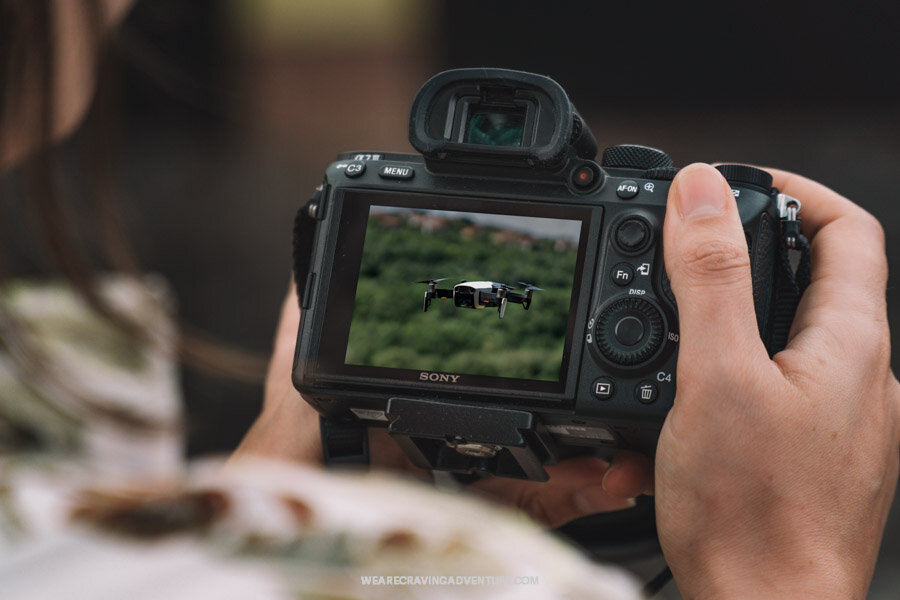
Camera
Sony a7 III
When we were looking to upgrade our camera last year, we were considering either the Sony a7 III or the Canon EOS R . Both boast very impressive and quite similar specs, but we eventually went with the Sony a7 III. It has the best autofocus system on the market, the batteries last you a full day of shooting, it has better light sensitivity and has 5-axis internal stabilisation. It really is one of the best mirrorless full-frame cameras you can get for its price. On top of that our current camera at the time was also a mirrorless Sony camera and we already had some Sony lenses, so we were already used to working with Sony gear.
We’ve been using the Sony a7 III for a while now and are convinced we’ve made the right choice. The images it produces are of incredible quality with razorsharp details, and more and more lens manufacturers are designing lenses that fit on Sony E-mount cameras now too.
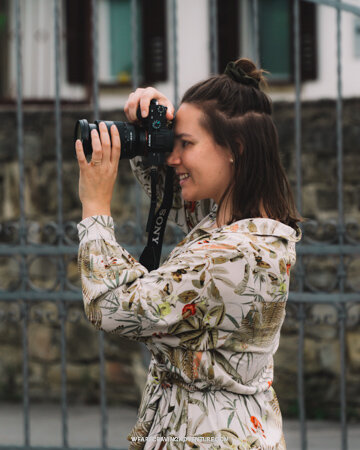
Lenses
Sony FE 24-105mm F4 G OSS (SEL24105G)
The Sony FE 24-105mm F4 G OSS is the lens we use the most because of its versatility. With a range of 24-105 mm it covers the most common focal lenghts, and it is razor sharp throughout the whole range, even when shooting wide open at f/4. Combining that with its excellent autofocus makes it one of the best zoom lenses for this range on the market today. But, as with most full-frame Sony lenses, it does come at a pretty hefty price.
Sony FE 85mm F1.8 (SEL85F18)
We’ve had our eye on the Sony FE 85mm F1.4 G Master for quite a while as it is arguably the best 85mm prime lens on the market right now, but with a pricetag of around € 1700 it is a bit out of our budget. Instead we went for its little brother, the Sony FE 85mm F1.8 , which comes at a third of the price and is nearly as good. In fact, the autofocus is actually faster than that of the G master version, although it is a tiny bit less sharp and has less creamy bokeh.
Lens filter
Athabasca 77mm NDX Variable Neutral Density Filter
Often when you’re shooting in bright light or directly against the sun you risk overexposing your image without even realizing it until you get back from your shoot and see the images on your computer screen. This is when we use a Neutral Density Filter (ND Filter). A ND Filter reduces the amount of light entering the camera, which allows you to use a lower shutter speed. This is also very useful when you want to photograph moving water in rivers or waterfalls.
There are different types of ND filters. A fixed ND filter will reduce the amount of light by a fixed amount, for example three stops. A variable ND filter will let you adjust the amount of light reduction within a certain range. Then there are graduated ND filters, which has an ND filter in one half, and then gradually changes to completely clear in the other half. These are used to bring down brightness in one half of your frame, for example when you only want to darken a very bright sky so that the whole image becomes properly exposed. You can also stack multiple filters to increase the amount of light reduction.
We use the Athabasca 77mm NDX Variable Neutral Density Filter which fits our Sony FE 24-105mm F4 G OSS lens and lets us manually adjust the light reduction by 2 – 10 stops, but it is hard to find and quite expensive so we would recommend getting the Tiffen 77mm Variable Neutral Density Filter or the Hoya 77mm Variable Density Screw-in Filter , which are 2 – 8 stops and 1.5 – 9 stops but are commonly available and a lot cheaper.
Tripod
Manfrotto Element
Over the past few years we’ve used up many, many tripods. We would usually buy cheap plastic tripods because we were under the impression that tripods weren’t durable anyway. Well, the tripods that we used to buy definitely werent, and often a leg or a rotating joint would break within months or sometimes even within weeks. Then we upgraded our camera and lenses, and an additional problem revealed itself. Our new camera and lenses were quite a bit heavier than the camera we used to have, and the rotating joint on the cheap tripod that we had wasn’t strong enough to support this weight. So whenever we set our camera to interval shooting and moved into the frame, the camera would slowly tilt down and take photo’s of the ground, instead of the stunning view we initially pointed it at.
This is when we decided to get a more expensive tripod that was built to support more weight. We went with the Manfrotto Element and have since then realized that we should have invested in a quality tripod like this one ages ago. It easily holds the weight of our camera and its super sturdy, durable, and folds up tiny so we can attach it to the side of our camera bag. We’ve been intensively using it for almost a year now, it has been covered in sand, has been standing in water, and has slammed into all sorts of things while being carried around, and there are still hardly any signs of wear and tear. So the message we can give you here is to invest into a high quality tripod straight away instead of buying cheap ones, because in the long run it will not only be cheaper, but also save you a lot of frustration.

Drone
DJI Mavic Air
We love the different perspectives that drones bring to photography and whenever we’re in a country where it is allowed to fly a drone, our drone always has a place in our camera bag. We got the DJI Mavic Air a few years ago and despite a few crashes it (or ‘Buzz’ as we call it) still does the job very well and frequently goes up into the air.
Although today the DJI Mavic Air is already one of DJI’s older models, it still packs quite a punch, especially when you compare what you get for the price with its bigger brothers. A 3-axis gimbal for super smooth 4K video at 30fps, a 12 MP hasselblad f2.8 lens for high quality images, it has a 4km range, flies very stable, has heaps of very usefull intelligent flight and shooting modes, can go up to 68 km/h which is mainly just for fun, and it folds up and fits into the pocket of your jacket.
We can higly recommend this drone believe it is a great fit no matter if you’re just starting out with drone photography or if you’re already experienced. We also suggest opting for the Fly More Combo, as it gives you a lot of usefull extras including some extra propellors to replace broken ones after you’ve crashed your drone (trust us when we say that it will likely happen a few times), a charging station and two extra batteries which you’ll surely need if you’re out shooting for a day.
If you have a bit more to spend, take a look at the DJI Mavic Air 2 , that DJI has just released. It boasts 4k video at 60 fps, it has a better camera sensor, the camera has been upgraded from a 12 MP camera to a 48 MP camera, the flight time per battery is almost twice as long, the range goes up to 10km, and it has lots more improved features. We’re most certainly getting one!
Read next:
Travel drone photography for beginners
Shop our essentials
GoPro
GoPro Hero 7 Black
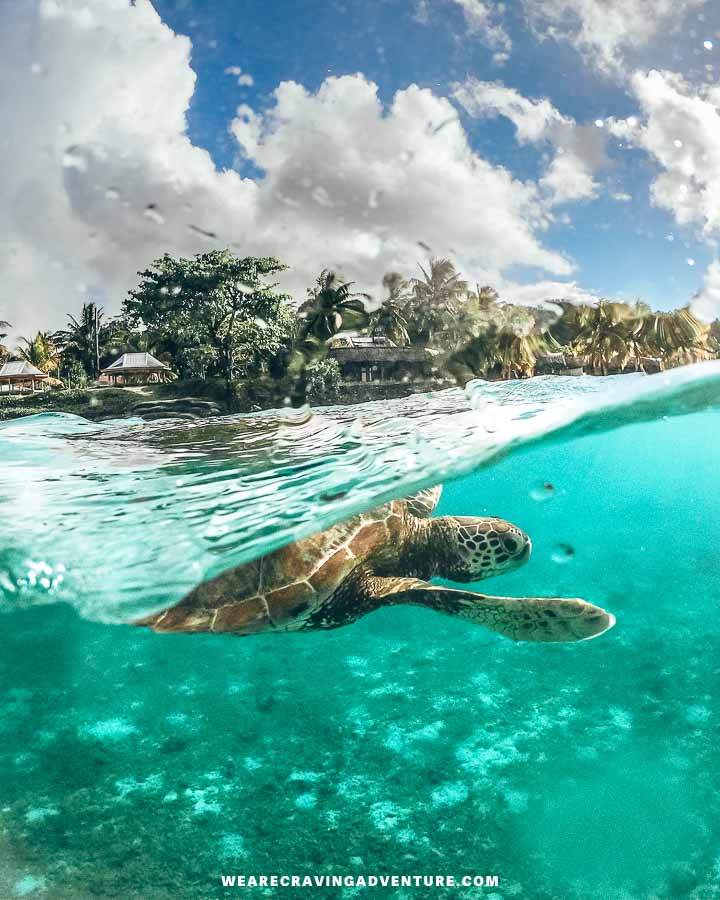
We love water. Being in, on, and under water is where we spend a lot of time during summer, and. We especially like capturing the underwater world with all its amazing marine wildlife, but we don’t feel ready yet to invest in expensive photography gear that allows us to shoot under water, so that’s where our GoPro comes in. In terms of value for money, we think that GoPro develops the best waterproof action cameras, especially when you combine them with PolarPro’s Fifty/fifty dome to take those awesome half above water/half under water shots.

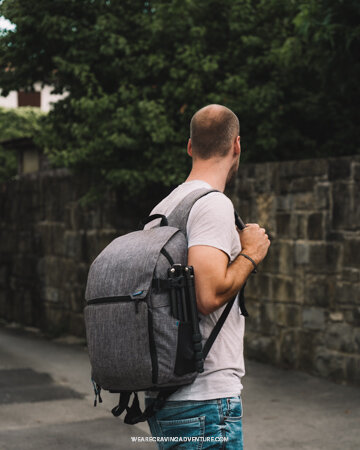
Camera Bag
Benro Traveler 300
For us, the Benro Traveler 300 has everything we look for in a camera bag. It is not too big yet fits all of our gear, it carries comfortably on our back and it is waterproof. It also opens on the side so we can easily reach our camera without having to open the whole bag. There is an extra compartment on the top to carry items like a waterbottle, a change of clothes or other small items you would usually take with you for a day of shooting, and it has a sleeve that fits a 15 inch laptop. All the specifications are listed on the Benro website , but unfortunately there aren’t many resellers that sell this bag, and finding it online is difficult too. Alternatively, have a look at this camera backpack from Beschoi . It comes in 3 different sizes, and the “L” size is very similar to the Benro Traveler 300, and for a cheaper price too.

Laptop
MacBook Pro
For all the content we publish we use a 13-inch MacBook Pro . Writing blogs, editing photos, editing videos, graphic design and so much more. For photo editing we use Adobe Lightroom and Adobe Photoshop, and for video editing we use Adobe Premiere Pro. It used to be said that for photo and video editing, and especially for running Adobe software, Mac was always the better choice. Nowadays there isn’t much of a difference in performance between Mac and Windows PCs when it comes to photo and video editing anymore, but with a Mac you know you always have a durable product that can keep up with software development and performs well for many years, and that is why we choose to work with a MacBook Pro.

Gimbal
We sometimes use a gimbal for when we’re shooting a little video with our phone for an Instagram story and want to make it look extra smooth. Currently we have the
DJI Osmo Mobile 3
, which works perfect for phones but unfortunately can’t carry anyting bigger. We’re getting more and more into video and to have a gimbal that can support our camera we’re currently looking at the
DJI Ronin
that works similarly to the DJO Osmo Mobile, but can carry a lot more weight.
Shop our essentials
Other accessoires
USB Adapter
Nowadays more and more laptops have switched to solely having USB-C ports. The lastest generations of MacBook only has USB-C ports and many windows laptops are switching to USB-C as well. USB-C is a great development because it can carry enough power to charge laptops, making USB even more universal than it already was. But as with every new technological development, it takes a while before all types of devices have switched to USB-C. You probably still have a lot of equipment that uses the older USB-A connector, so do we, and with our MacBook only having USB-C ports we need an adaptor to connect to our USB-A devices. For this we use the Apple USB-C to USB Adapter .
Back-up drives
No matter how careful you are with your possesions or how top of the line your laptop is, sometimes equipement accidentally gets damaged or it crashes. When this happens, you don’t want your content to be lost so you have to back-up everything regularly. We have two Samsung T5 1 TB external drives that we back-up our content to. There is also a 2TB version if you need more storage space . Even though SSD drives are a lot pricier, we prefer them over HDD drives because they are much much faster, and they can take some hits without breaking which is very useful when you travel with them. In saying that, we do still use a Seagate Portable 4TB External Hard Drive as a second back-up.
SD cards
We always shoot our photos in RAW format, which means bigger files. With the speed of our camera that means we need SD cards with fast transfer speeds to keep up with the camera. In our Sony a7 III we use two
SanDisk Extreme PRO 32 GB cards
cards. This gives us a total storage space of 64 GB which is more than enough for a day of shooting. In our GoPro and drone we use a
SanDisk Extreme 64 GB microSDXC memory card
memory card, which is fast enough to keep up with their file size and shooting speed.
Shop our essentials
Alright, that covers it! While upgrading your gear can help, please remember that gear isn’t everything. The best way to get better images is to practice and improve your photography skills as much as you can.
Have any questions about the gear we use?
Ask away in the comments below
Psst!
KEEP This HANDY AND PIN it for later


Sharing is caring
CLICK THE ICON BELOW TO SHARE THIS ARTICLE WITH YOUR FRIENDS.
IT MEANS SO MUCH TO US!

I am not tech savvy like this! The only thing that I have from this list is a Mac haha. Your photos are stunning on your site though so obviously using tech like this really pays off! I need to take a course haha. Can you recommend any basic ones?
Thank you Chelsea, that is so nice of you to say! If you’re just starting out the best thing to do is to watch some youtube videos on basic photography tips and on how to use your camera, and to then just start taking pictures. There are hundreds if not thousands of photography courses available, but in the end, it all just comes down to trial and error and loads of practise!
I love reading camera guides. I am hoping to upgrade my camera (canon rebel t5i) to a mirrorless camera by the end of the years. I’m bless that I haven’t invested into lenses because everything I see about Sony is killer! Thank you for sharing!
Hi Nicole, the Canon Rebel T5i is a great camera to start with! We love Sony’s mirrorless camera line, and more and more lens manufacturers are making quality lenses for mirrorless Sony cameras now too. However, if you’re already used to you Canon, then the Canon EOS R could also be a great choice for you, or maybe even the newer generation Canon EOS R5 that will be released this summer (but will be hella expensive!).
This is very helpful. I need to buy a camera and all of the accessories and I have no clue.
Hi Kelly, glad we could help! Just remember that you don’t really need all this if you’re just starting out. Start with a basic camera, and as you learn and your skills grow, start upgrading your gear. If there is anything we can help with, just ask! 🙂
I have a Sony a6000 and I love it but I don’t know how to use it properly :'( would love to be so tech savvy like you guys.
Hi Amber, the Sony a6000 is an awesome camera! Truthfully, we’re not all that tech savvy. For us, the best way to learn is to watch a basic video tutorial and then try and experiment for ourselves. Then we just keep trying and adjusting until we like the result.
This was super interesting as I’m trying to decide where to go with the photography on my blog. I use my iPhone 11 and Go Pro 7 because they are handy and lightweight. No sure I want to lug heavy gear into the wilderness. I’m not sure how to get good still photos on the Go Pro yet— they seem so far away. And tips about how to learn to better use the Go Pro?
Hi Karen, there is definitely something to be said for lightweight cameras like the GoPro, and the image quality on the iPhone 11 is astounding! The reason that what you shoot on your GoPro seems so far away is because the GoPro has an ultra-wide lens. This distorts and "blows up" your image, making what is close to you and in the center of the frame stand out, but what is on the edges and in the background becomes smaller and further away. This is great for selfies, action shots, and wide-angle photography, but doesn’t work that well for landscape photography. I believe the GoPro 7 has the option to slightly reduce the distortion of the wide angle lens, but it will always distort a bit. If the weight of gear is the main issue, then we recommend looking at a mirrorless camera, they are a lot lighter but can produce the same image quality as a DSLR camera.
MacBook Pros are one of the best laptop computers from Apple.